
How to Do a Facial at Home Step by Step – Quick Answer: A complete at-home facial takes 45–60 minutes and follows 7 steps: cleansing, steaming, exfoliating, extracting (optional), applying a face mask, toning, and moisturising with SPF. Done weekly with the right products for your skin type, it can significantly improve skin clarity, hydration, and glow — for a fraction of a salon price.
The first time I gave myself a proper facial at home, I set up my bathroom like I was preparing for a surgery rather than a skincare routine: towels folded, a bowl of steaming water with dried rose petals, four different products lined up in order on the edge of the sink. Nadia had talked me through it the previous weekend, and I had taken notes — actual notes — on a piece of paper propped against the mirror.
Forty-five minutes later, I looked in the mirror and genuinely thought I was looking at my skin from five years ago. It was flushed, soft, and had that particular glow you only get after a proper facial. I had paid $0 for it, using things already in my kitchen and bathroom cabinets.
The mistake most women make is assuming a facial is just “putting on a face mask.” It isn’t. The sequence matters — each step prepares your skin for the next one, and doing them out of order significantly reduces the results. Here’s the exact method I use, step by step, including what I do differently for oily versus dry skin.
Why Do a Facial at Home? (What the Research Says)
A weekly facial isn’t vanity — it’s maintenance. The skin’s natural cell turnover cycle is approximately 28–40 days, but it slows significantly without external support, especially as we age.
According to a 2022 study in the International Journal of Cosmetic Science, regular facial massage and topical application of active ingredients improved skin hydration by up to 39% and reduced the appearance of pores in participants who followed a weekly home facial routine for 8 weeks.
Regular home facials support:
- Improved circulation (bringing oxygen and nutrients to skin cells)
- Accelerated cell turnover (fresher, brighter skin)
- Deep cleansing that daily washing can’t achieve
- Better penetration of moisturisers and serums after treatment
- Relaxation and stress reduction (which itself benefits skin — cortisol is a major acne trigger)
A professional facial at a salon costs $60–120+ per session. A weekly home facial, once you have the ingredients, costs under $5 per session.
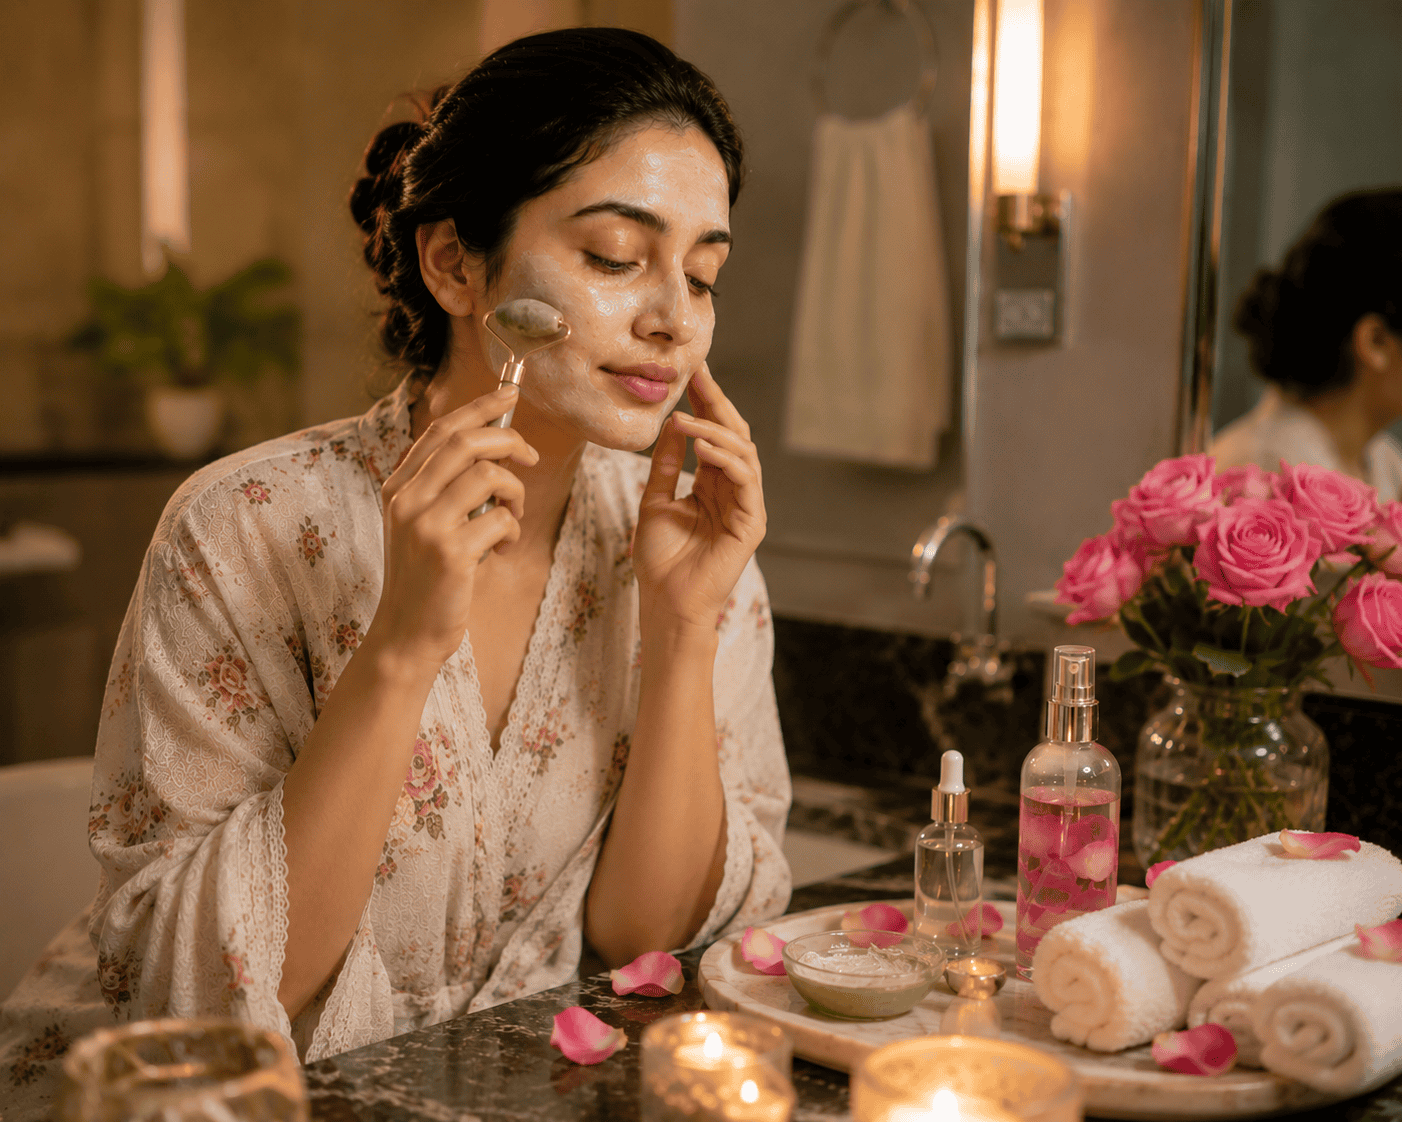
What You’ll Need Before You Start
Gather everything before you begin — stopping mid-facial to search for something breaks the flow and can leave one product on too long.
Essential items:
- Gentle cleanser (appropriate for your skin type)
- Clean towels (at least two — one for steaming, one for drying)
- A large bowl or pot for steam
- A gentle exfoliant (sugar scrub, or a chemical exfoliant like lactic acid)
- A face mask (store-bought or DIY — recipe options below)
- Toner or rose water
- Moisturiser
- SPF (for morning facials)
Optional but helpful:
- A jade roller or gua sha tool
- Cotton pads
- A facial brush (very soft)
- A few drops of facial oil for the final step
Time needed: 45–60 minutes (don’t rush this) Frequency: Weekly for most skin types; every 10 days for sensitive or reactive skin
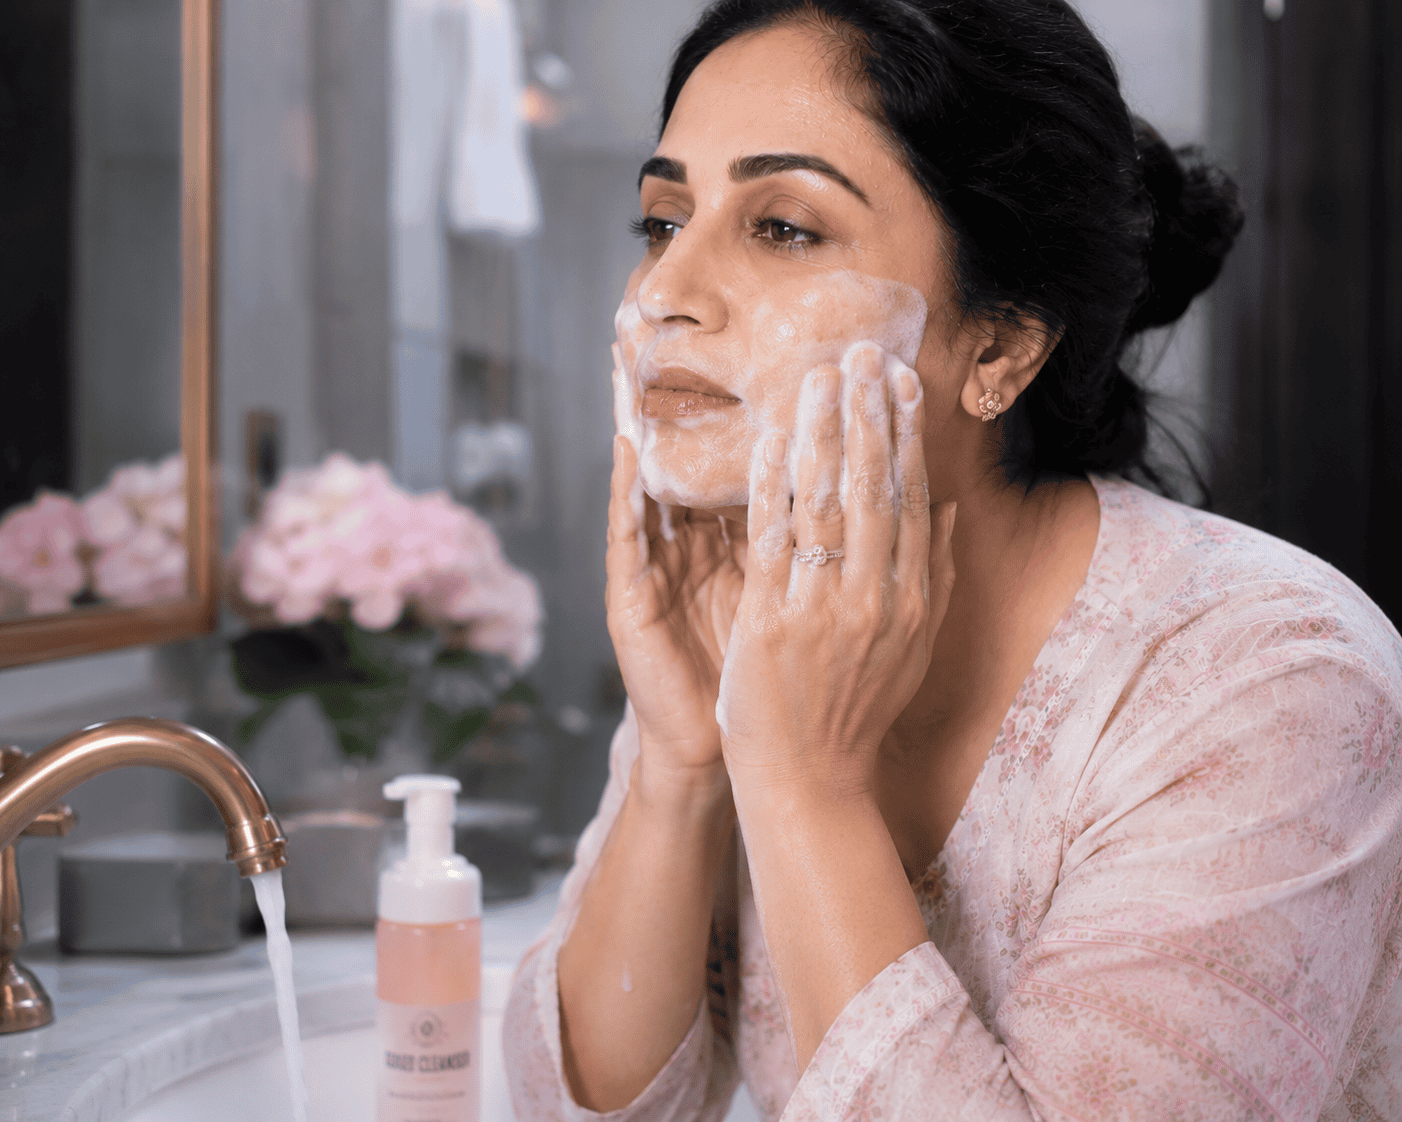
Step 1: Double Cleanse (5 Minutes)
This is the foundation of everything. If you start your facial with dirty skin, every step that follows is less effective.
How to do it:
- First cleanse: apply a cleansing oil or micellar water to dry skin — this removes makeup, sunscreen, and surface debris. Massage for 60 seconds, rinse.
- Second cleanse: apply your regular water-based or gel cleanser to damp skin. Massage for 60 seconds in gentle upward circles. Rinse thoroughly with lukewarm water (not hot — hot water strips the skin’s natural oils).
For oily skin: Use a foaming or gel cleanser for the second step For dry skin: Use a cream or milk cleanser for both steps For sensitive skin: Skip the first cleanse if you haven’t worn makeup — a single gentle cleanse is enough
The skin should feel clean, comfortable, and slightly damp after this step — not tight, dry, or squeaky.
💡 Pro Tip: Pat dry rather than rubbing. A clean, soft towel patted gently preserves the skin barrier far better than rubbing with a rough towel.
Step 2: Steam (5–7 Minutes)
This is the step most home facials skip, and it makes the biggest difference. Steaming opens pores, softens the skin, and prepares it for exfoliation and mask application.
How to steam at home:
- Boil water, pour into a large bowl, and allow to cool for 2–3 minutes so it’s hot but not scalding
- Add optional extras: 2–3 drops lavender essential oil, dried chamomile flowers, or rose petals
- Drape a clean towel over your head and lower your face 30–35cm above the water (far enough that it’s comfortable — never let steam burn your skin)
- Steam for 5–7 minutes
For oily skin: Steam is particularly beneficial — it helps loosen congestion in pores For dry or sensitive skin: Limit to 5 minutes and ensure the steam is not too hot For rosacea-prone skin: Skip steaming entirely — heat can trigger flushing and flare-ups
After steaming, your skin should feel warm and slightly flushed. This is normal — it’s increased circulation.

Step 3: Exfoliate (5–7 Minutes)
Exfoliation removes the layer of dead skin cells that makes skin look dull and prevents your mask and moisturiser from penetrating effectively. This is the step where the post-facial glow actually comes from.
Two types of exfoliants — choose one:
Physical exfoliants (scrubs):
- Best for: normal to oily skin with no active breakouts
- DIY option: 1 tablespoon sugar + 1 tablespoon honey + a few drops of lemon juice. Massage in gentle circular motions for 60 seconds, rinse.
- Important: never scrub forcefully. The motion is gentle — you’re not trying to scrub paint off a wall.
Chemical exfoliants (acid-based):
- Best for: sensitive skin, acne-prone skin, dry or mature skin
- Options: a lactic acid toner or pad (5–10% concentration), a glycolic acid pad, or a BHA like salicylic acid (for oily/acne-prone skin)
- Apply with a cotton pad, leave for the directed time, rinse if the product instructs
- Don’t combine with steaming on the same evening — the heat makes skin more reactive to acids
DIY Natural Exfoliant Recipes:
For oily skin: 1 tbsp ground oats + 1 tbsp yoghurt + ½ tsp turmeric. Massage gently for 60 seconds.
For dry skin: 1 tbsp sugar + 1 tbsp almond oil + 1 tsp honey. Massage gently, rinse with warm water.
For sensitive skin: 1 tbsp finely ground oats + 2 tbsp milk. Very gentle — barely-there pressure.
⚠️ Never exfoliate if you have active, inflamed breakouts, sunburned skin, or open cuts. Wait until skin is calm.

Step 4: Extractions — Optional (5 Minutes)
Let me be honest about this step: done incorrectly, it does more harm than good. Done correctly, it removes blackheads and clears congestion that no cleanser reaches.
The safe approach:
- Only attempt on non-inflamed blackheads (the small black-tipped plugs in pores) — never on red, active pimples
- After steaming, pores are maximally open — this is the only appropriate time
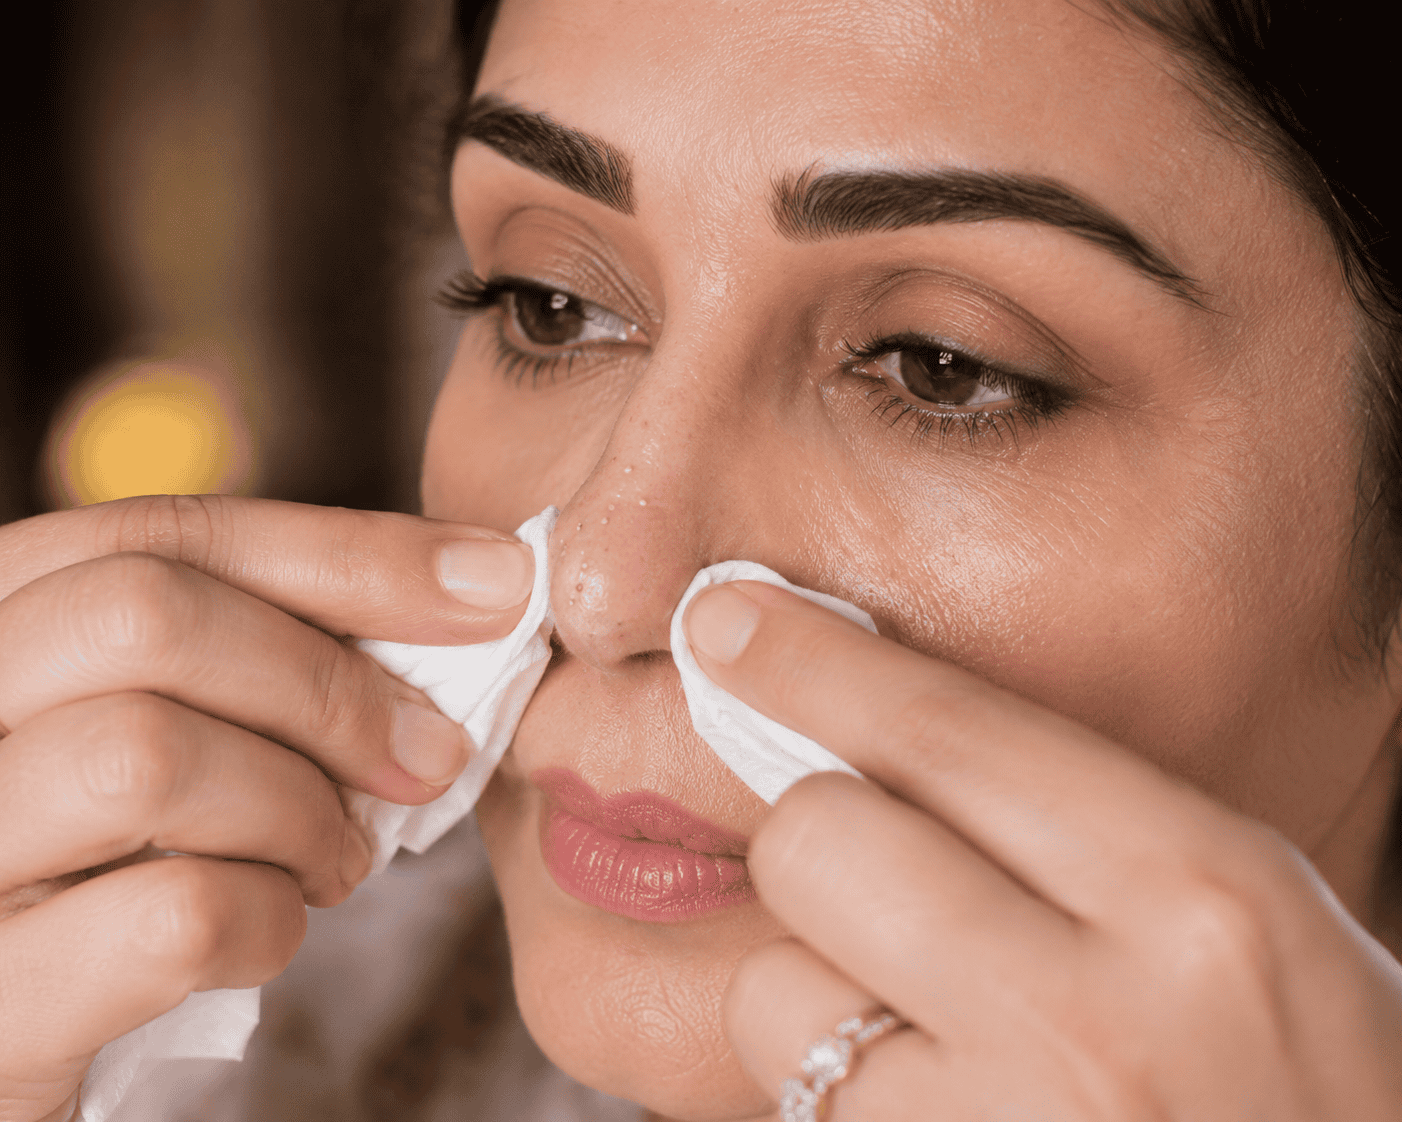
- Wrap your fingers in clean tissue paper
- Apply very gentle pressure from both sides of the blackhead — the pressure should come from the sides, pushing down and in, not squeezing from above
- If a blackhead doesn’t come out with gentle pressure in 2–3 attempts, leave it. Forcing it causes scarring.
- Apply a tiny amount of toner immediately after to close pores
Skip this step entirely if:
- Your skin is sensitive or reactive
- You have active acne
- You’re not comfortable with the technique
💡 Pro Tip: A comedone extractor tool (a small metal tool with a loop on the end, available for $5–8) is safer and more effective than fingers when used correctly. Clean it with alcohol before each use.
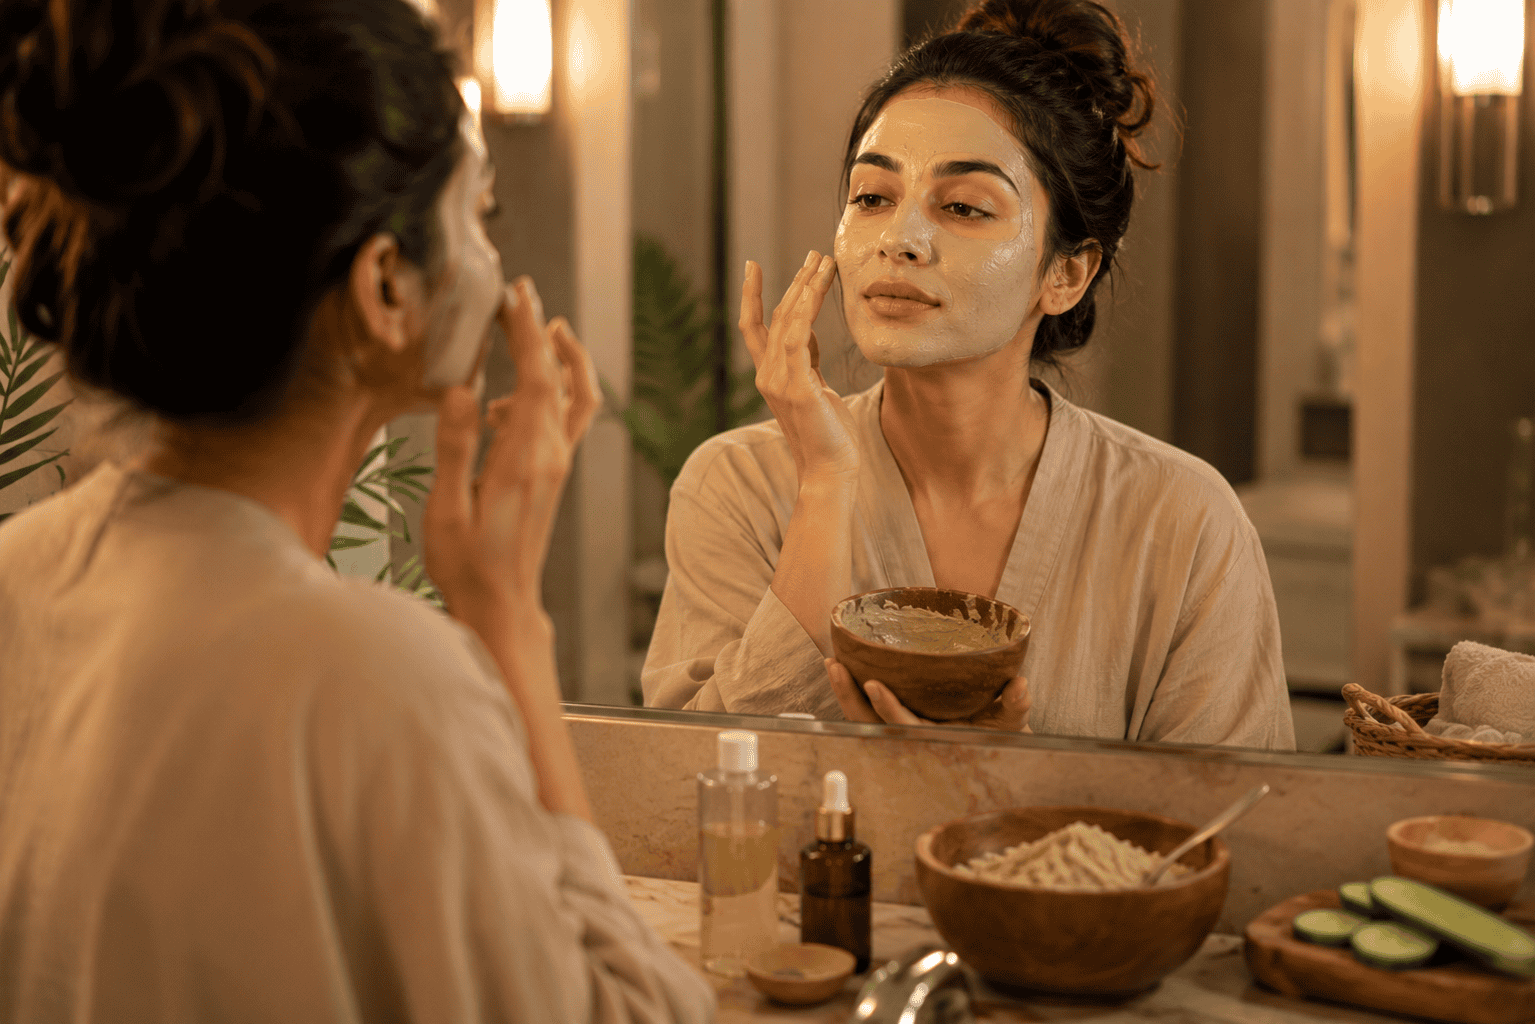
Step 5: Face Mask (15–20 Minutes)
This is the centrepiece of the facial — where targeted treatment happens. Choose your mask based on your primary skin concern that week.
For Glowing, Dull Skin:
- 1 tbsp turmeric + 2 tbsp yoghurt + 1 tsp honey
- Leave 15 minutes, rinse with lukewarm water
For Acne-Prone or Oily Skin:
- 2 tbsp kaolin clay or multani mitti (fuller’s earth) + rose water to make a paste + 2 drops tea tree oil
- Leave until almost dry (10–12 minutes), rinse
- This mask will noticeably tighten as it dries — this is normal; remove before it feels tight or uncomfortable
For Dry or Dehydrated Skin:
- 2 tbsp pure aloe vera gel + 1 tsp rosehip oil + 1 tsp raw honey
- Leave 20 minutes, rinse gently
For Sensitive Skin:
- 2 tbsp plain yoghurt + 1 tbsp oat flour + 1 tsp aloe vera
- Leave 15 minutes, rinse with cool water
For Anti-Aging:
- 2 tbsp mashed ripe banana + 1 tsp almond oil + ½ tsp honey
- Leave 15 minutes, rinse. Banana contains potassium and natural acids that support cell renewal.
While the mask is on: lie down if possible. Use this time for the facial massage portion below.
Facial Massage During the Mask (5 Minutes)
This is Nadia’s secret weapon — she learned it from her mother and it’s the reason why home facials in her family actually look like salon facials. While your mask sets, a jade roller or gua sha tool (or even just your fingertips) can dramatically improve results.
With fingertips (free method):
- Gently press your fingers along your jawline, cheekbones, and temples in small circular motions
- This stimulates lymphatic drainage — reducing puffiness and improving circulation
- Apply no downward pressure — always work in upward or horizontal motions
With a jade roller ($10–20):
- Roll upward from jaw to temple, and from nose outward across cheeks
- Roll gently under eyes from inner corner outward
- The cool stone reduces puffiness and feels deeply satisfying
With gua sha ($15–30):
- Use the curved side along your jawline, cheekbones, and neck
- Always move upward and outward — against gravity
- Refrigerate your gua sha before use for a lymphatic drainage boost
According to a 2018 study in Complementary Therapies in Medicine, regular facial massage significantly improved skin elasticity and reduced puffiness in women who performed 5-minute daily massage sessions over 8 weeks.

Step 6: Tone (2 Minutes)
After rinsing your mask, toning helps close pores and restore the skin’s natural pH after all the products you’ve applied.
Options:
- Rose water applied with a cotton pad (gentle, suitable for all skin types)
- Witch hazel diluted with water (50:50) — for oily/acne-prone skin only; too drying for dry skin
- A niacinamide toner — excellent for pores, brightness, and oil control
How to apply:
- Soak a cotton pad and press it gently across the face — don’t wipe or drag
- Alternatively, spritz toner directly onto the face and press in with clean hands
💡 Pro Tip: Keep your rose water toner in the fridge. The cold helps close pores after the heat of steaming and the mask, and it feels genuinely luxurious.

Step 7: Moisturise and Protect (3–5 Minutes)
The final step locks in everything you’ve done and protects the barrier you’ve spent the last hour supporting.
Apply in this order:
- A few drops of facial oil or serum (vitamin C serum if doing a morning facial; retinol or bakuchiol if it’s evening)
- Your regular moisturiser — apply while skin is still slightly damp from toning
- SPF 30+ if it’s a morning facial (non-negotiable)
For oily skin: A gel moisturiser or a light niacinamide serum without a heavy cream on top For dry skin: Layer a facial oil under your moisturiser — press (don’t rub) the oil in first, then apply moisturiser on top For mature skin: A peptide or hyaluronic acid serum followed by a richer cream
The facial massage with moisturiser at the end:
- Warm the moisturiser between your palms first
- Press into skin in an upward direction — never pull downward
- Spend 30 seconds on each area of the face
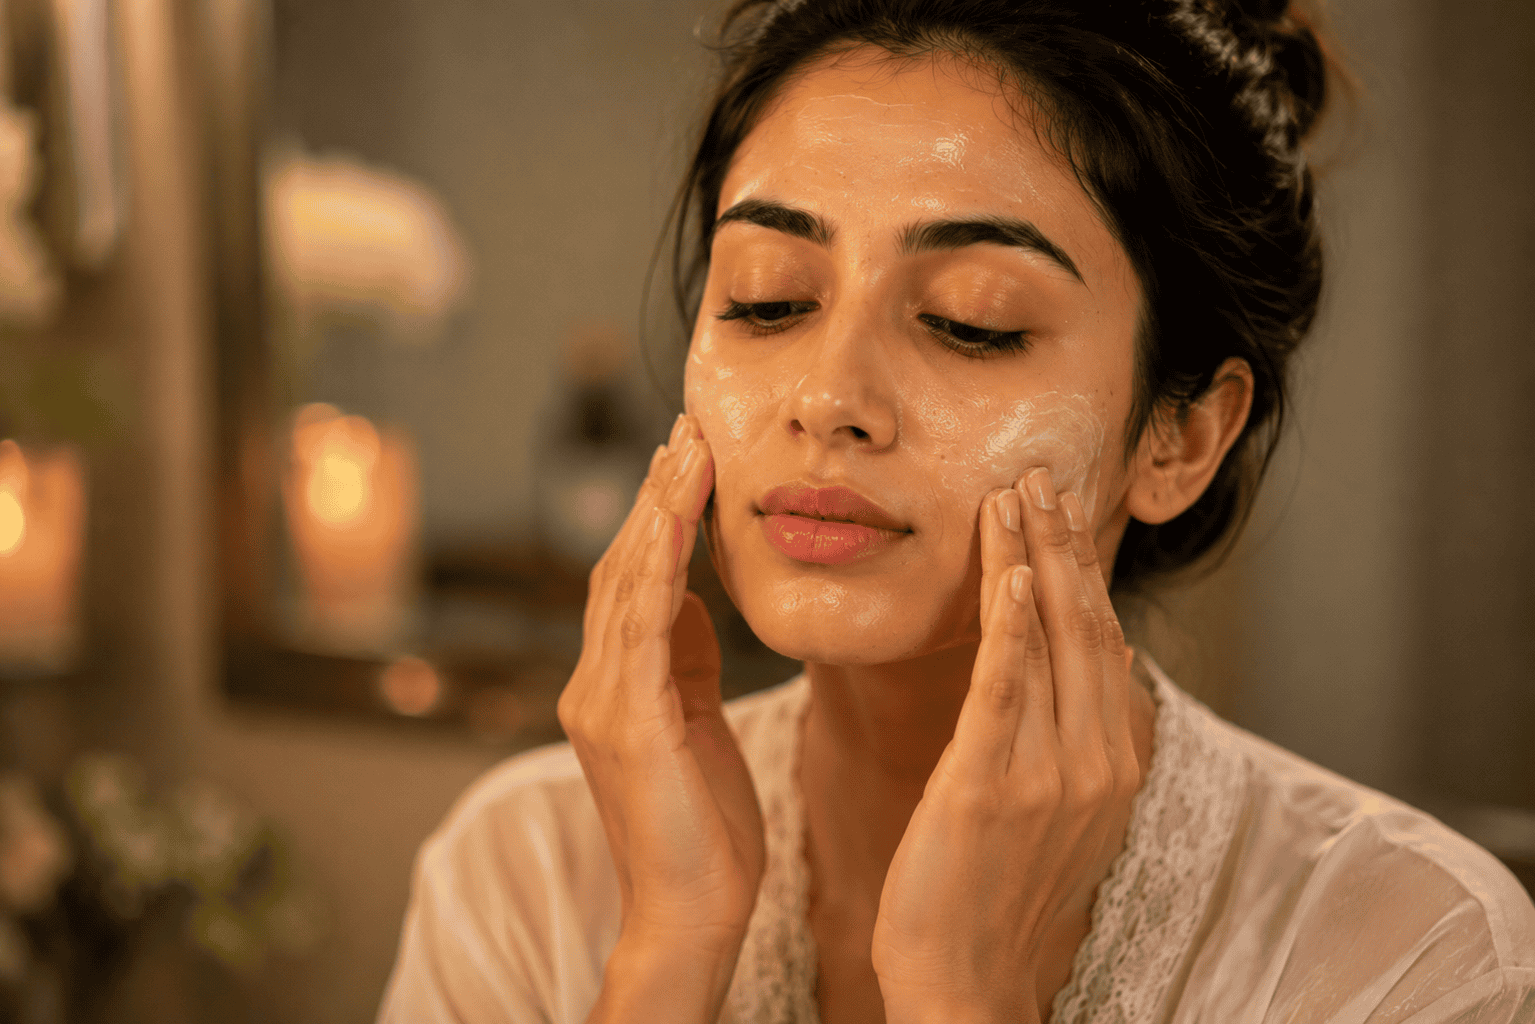
Complete At-Home Facial Schedule
| Step | Time | What You’re Doing |
|---|---|---|
| 1. Double cleanse | 5 min | Removing all surface impurities |
| 2. Steam | 5–7 min | Opening pores for treatment |
| 3. Exfoliate | 5–7 min | Removing dead skin cells |
| 4. Extractions | 5 min | Optional — clearing blackheads |
| 5. Face mask | 15–20 min | Targeted treatment |
| (Facial massage) | 5 min | During mask — lymphatic drainage |
| 6. Tone | 2 min | Restoring pH, closing pores |
| 7. Moisturise + SPF | 3–5 min | Sealing in results, protection |
| Total | 45–52 min |
Also Read: Benefits of Rose Water for Face and Skin
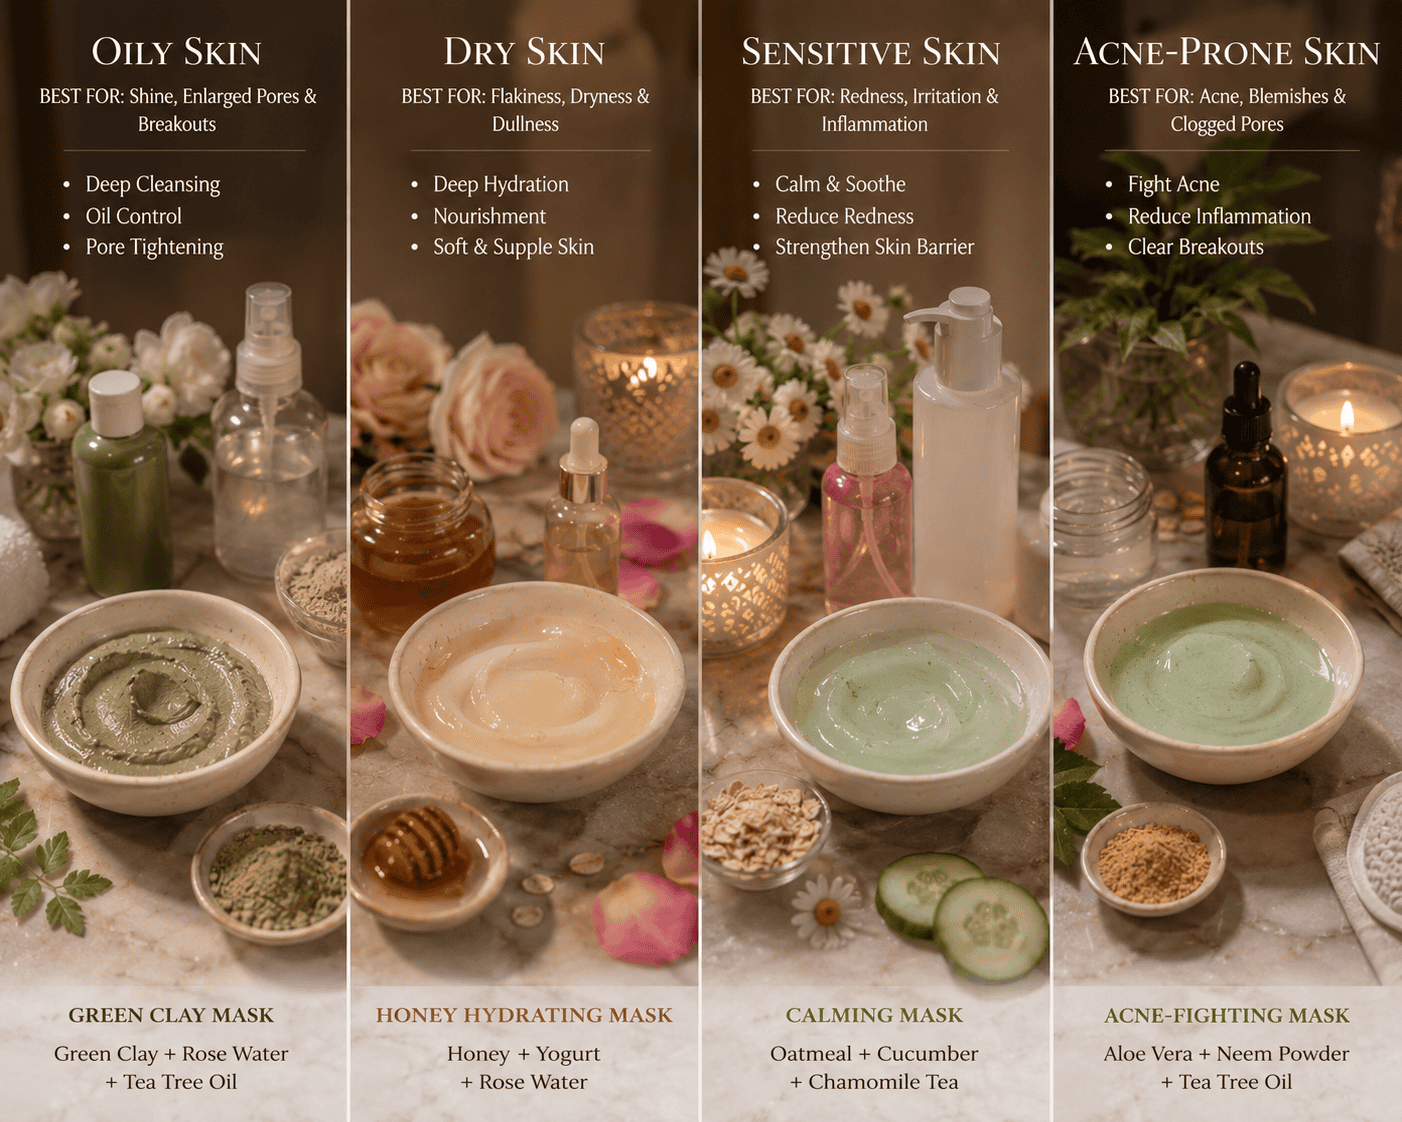
At-Home Facial for Different Skin Types — Quick Guide
Oily Skin:
- Cleanser: gel or foaming
- Exfoliant: salicylic acid pad or sugar scrub
- Mask: kaolin clay with tea tree oil
- Toner: witch hazel (diluted) or niacinamide toner
- Moisturiser: gel, oil-free formula
Dry Skin:
- Cleanser: cream or milk cleanser
- Exfoliant: sugar + almond oil scrub
- Mask: aloe + rosehip + honey
- Toner: rose water
- Moisturiser: rich cream + facial oil
Sensitive Skin:
- Cleanser: single gentle cleanse, no stripping
- Exfoliant: oat flour + milk (no steam)
- Mask: oat + yoghurt + aloe
- Toner: plain rose water, chilled
- Moisturiser: fragrance-free, minimal ingredients
Acne-Prone Skin:
- Cleanser: gel cleanser with salicylic acid
- Exfoliant: BHA pad (no physical scrub over active breakouts)
- Mask: fuller’s earth / multani mitti + rose water
- Toner: niacinamide toner
- Moisturiser: light, non-comedogenic
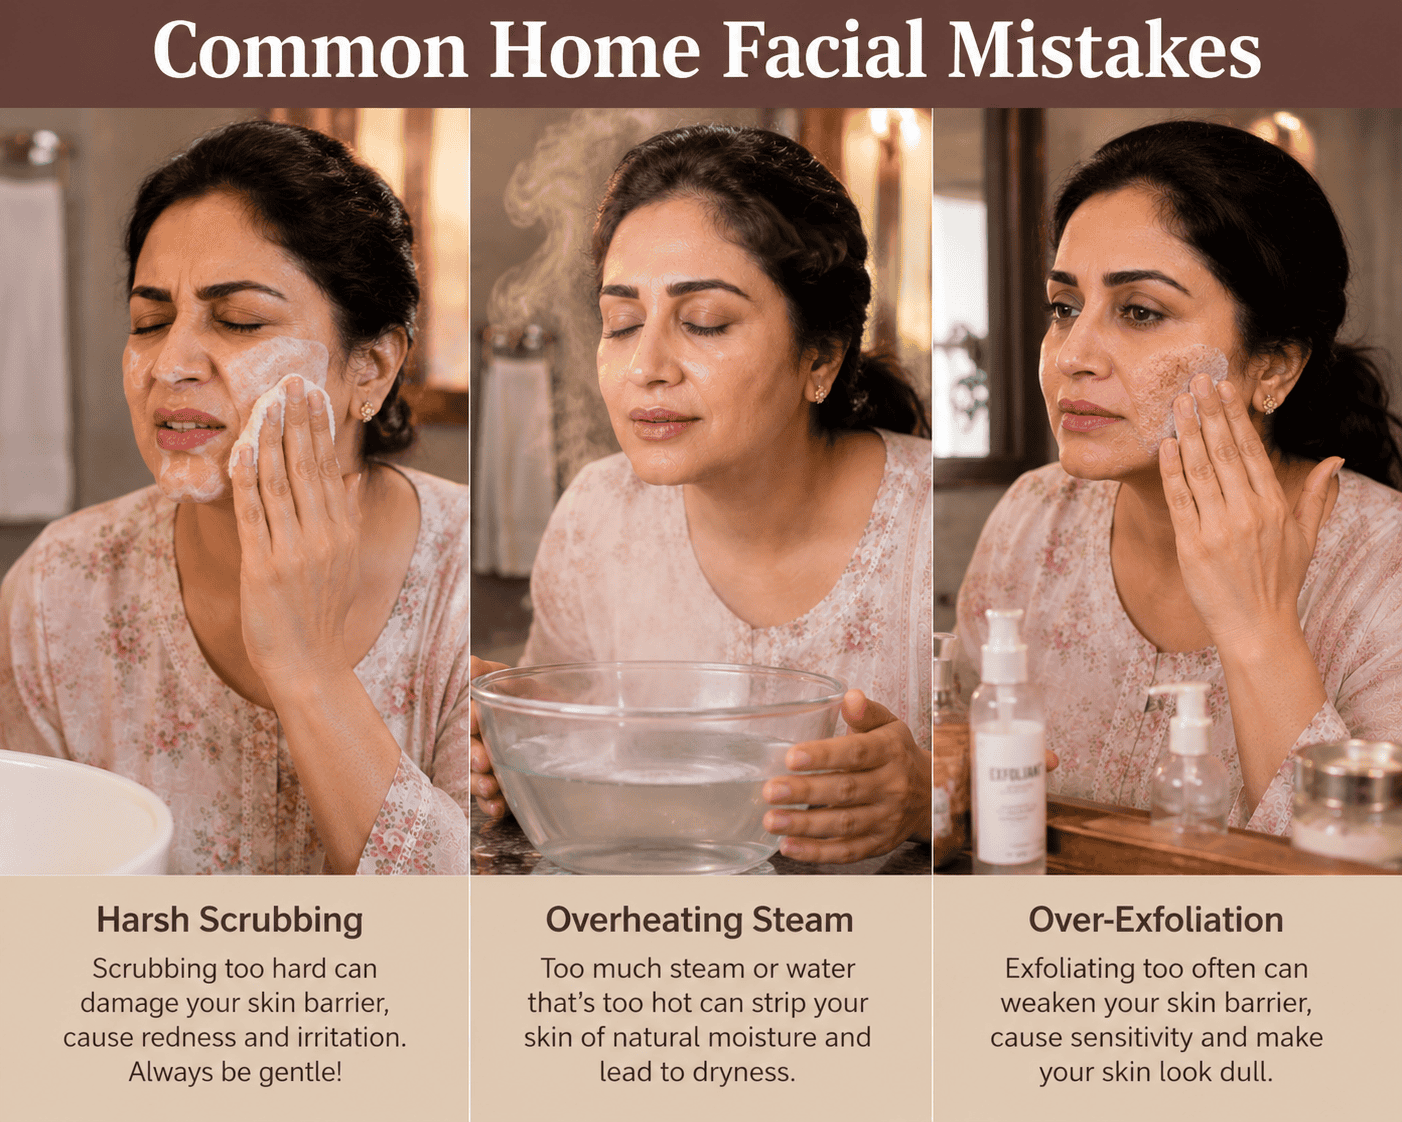
Common Mistakes That Ruin a Home Facial
The biggest mistake most women make is using too many products at once, especially mixing physical and chemical exfoliants in the same session. I did this once — my face was so sensitised that I couldn’t even apply moisturiser without it stinging.
Other mistakes:
- Steam too close or too hot: Hold your face at least 30cm from the water — burns are both painful and counterproductive
- Leaving clay masks until completely hard: Remove when still slightly tacky — a fully dried clay mask dehydrates and can irritate
- Forcing extractions: One rule — if it doesn’t come with gentle pressure, it doesn’t come today
- Applying SPF at night or skipping it in the morning: After exfoliation and masks, skin is freshly exposed and more vulnerable to UV damage
- Using hot water throughout: Warm water opens pores; cold water rinses close them. End with cool water.
- Rushing: A facial done in 15 minutes delivers 30% of the results of one done properly in 50 minutes
When to See a Doctor or Aesthetician
Home facials are excellent for maintenance, but some skin concerns genuinely need professional attention.
See a dermatologist if:
- You have active, painful, or cystic acne — extractions and certain masks can worsen cystic acne
- Your skin has persistent redness, rashes, or irritation that doesn’t resolve
- You notice new skin growths, moles that change, or unusual pigmentation changes
- Home facials consistently cause flare-ups or reactions despite using gentle products
Consider a professional facial if:
- You want to address specific concerns like deep scarring, significant hyperpigmentation, or visible signs of aging — a professional can use clinical-grade products and equipment
- You’re new to skincare and want to learn your skin type and specific needs in person
Please consult your doctor before performing extractions or using active ingredients if you have conditions like rosacea, psoriasis, or eczema.

People Also Ask
❓ How often should I do a facial at home? → Once a week works well for most skin types. Sensitive or reactive skin does better with every 10–14 days. If you notice redness, tightness, or breakouts after home facials, you may be over-exfoliating — extend the gap between sessions.
❓ Can I do a facial at home without buying special products? → Absolutely. A complete facial can be done with just kitchen ingredients: honey, yoghurt, sugar, oats, turmeric, and aloe vera cover cleansing, exfoliating, masking, and moisturising. Rose water as a toner is the only additional item you’d need, available at most supermarkets for under $4.
❓ What is the correct order of steps in a facial? → Cleanse → Steam → Exfoliate → Extractions (optional) → Face Mask → Tone → Moisturise → SPF. The sequence matters — each step prepares the skin for the next and skipping or reversing steps significantly reduces effectiveness.
❓ Is steaming your face good or bad? → Good for most skin types when done correctly. It opens pores, improves circulation, and maximises the effectiveness of masks applied after. Keep your face at least 30cm from hot water, limit to 5–7 minutes, and skip steaming entirely if you have rosacea or very sensitive skin.
❓ Can a home facial cause breakouts? → A purging reaction — small breakouts in the days following a facial — is normal when starting a new exfoliation routine. It’s temporary and settles within 1–2 weeks. If breakouts are severe or painful, you may be over-exfoliating or using products that don’t suit your skin type.
FAQ
How long should a home facial take? A complete home facial takes 45–60 minutes. Shorter versions skipping the mask or steam take about 20–25 minutes and are useful for weeknight maintenance. The full routine weekly delivers better results than rushed sessions more frequently.
Can I do a facial if I have acne? Yes, with modifications. Avoid physical scrubs on active breakouts. Choose a clay or kaolin mask rather than an occlusive cream mask. Skip extractions on inflamed spots. Use a salicylic acid-based cleanser and keep everything gentle. Consult your doctor if acne is cystic or severe.
What is the best DIY face mask for glowing skin? The turmeric + yoghurt + honey mask consistently delivers the most visible, immediate glow. For a simpler option, mashed papaya applied for 15 minutes (papain enzyme + vitamin C) also gives beautiful brightening results.
Should I wash my face before a facial? Yes — double cleansing is the first step of a facial. Starting with clean skin is essential for every subsequent step to work properly. A facial done on uncleansed skin is significantly less effective.
Can I do a home facial every day? No — over-cleansing, over-exfoliating, and masking daily will strip the skin’s natural barrier, causing dryness, irritation, and rebound oiliness. Weekly is the right frequency for a complete facial. Daily skincare (cleanse, moisturise, SPF) is separate from facial sessions.
Do I need expensive products for a home facial? No. Many of the most effective facial ingredients are inexpensive kitchen staples: honey ($5–8 for a jar that lasts months), yoghurt, oats, turmeric, and aloe vera. A quality cleanser and moisturiser are worth investing in — but the mask and exfoliant steps can be done affordably at home.
Is it safe to do extractions at home? Only for non-inflamed blackheads, after steaming, using clean fingers wrapped in tissue or a sterilised comedone extractor. Never attempt extractions on red, painful, or cystic spots. When in doubt, leave it — improper extractions are a leading cause of post-inflammatory hyperpigmentation.
What should I not do after a home facial? Avoid heavy makeup immediately after (let skin breathe for at least a few hours), avoid direct sun exposure without SPF (your skin is freshly exfoliated and more UV-sensitive), avoid touching your face repeatedly, and avoid applying new products you haven’t patch-tested before — freshly treated skin absorbs more and may react more strongly.
Closing
The first facial I gave myself was imperfect — I held my face too close to the steam (rookie mistake), I used too much of the clay mask and waited too long to rinse. But my skin glowed, and I remember thinking: why didn’t I do this sooner?
Nadia has done her weekly facial every Sunday evening for as long as I’ve known her. She calls it her “reset ritual” — the thing she does to transition from the week that’s ending to the week ahead. Her skin looks genuinely remarkable. I used to attribute it to genetics. Now I know it’s consistency.
A home facial isn’t about perfection or expensive products. It’s about giving your skin dedicated attention — a weekly hour where you’re actually paying attention to what it needs. Your skin notices. It responds.
Start this Sunday. Forty-five minutes, the steps in order, the ingredients you already have. That’s all it takes.
Quick Summary — At-Home Facial ✅ Best for: Weekly maintenance, dull or congested skin, budget skincare ⏱ Time needed: 45–60 minutes per session 💰 Budget: Under $5 per session using kitchen ingredients ⚠️ Avoid: Steaming with rosacea; extractions on active pimples; daily exfoliation 👩⚕️ See a doctor if: Persistent breakouts after facials, cystic acne, unusual skin changes 📌 Top tip: The sequence matters — always steam before exfoliating, always exfoliate before masking. Doing it in the right order doubles the results.


Leave a Comment
Share your thoughts or questions about this article!